In the fast-paced world of small to medium enterprises (SMEs), communication is the backbone of growth. Whether you are managing inquiries for a boutique retail fit-out or coordinating admissions for a growing school, how you handle incoming mail matters. You have likely seen email addresses like info@yourbusiness.com, sales@yourbusiness.com, or support@yourbusiness.com. These are more than just aliases; they are often shared mailboxes.
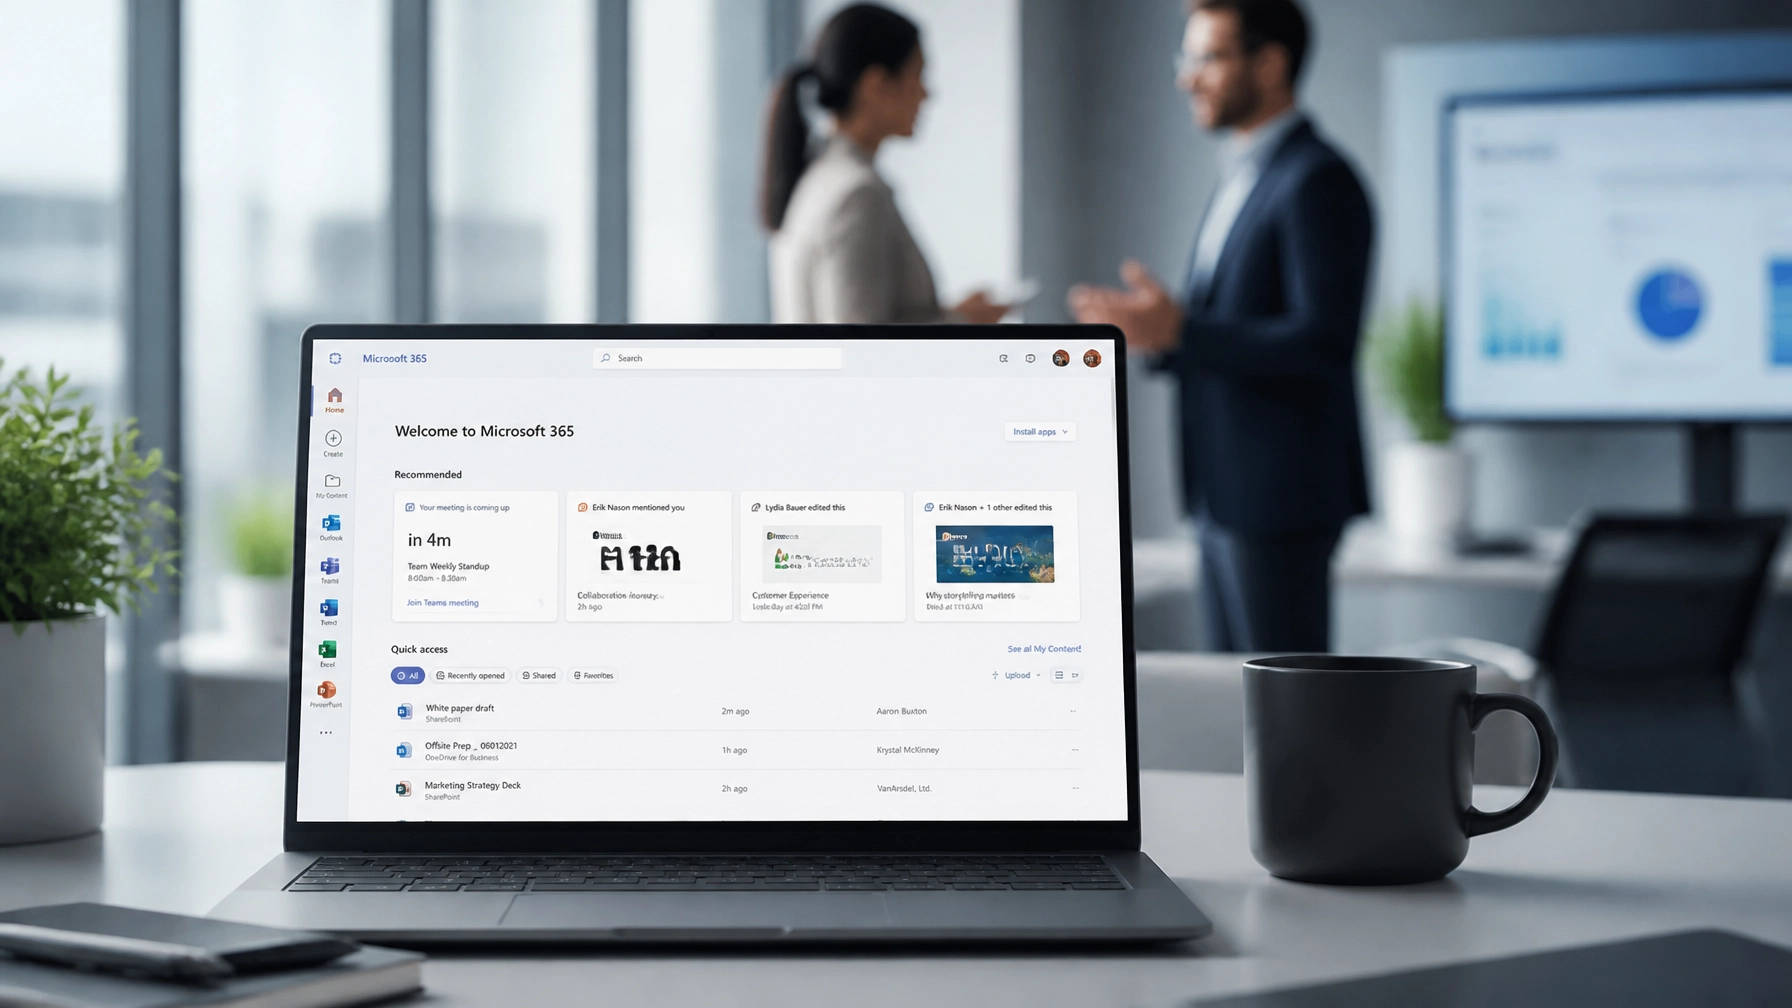
A Microsoft 365 shared mailbox allows multiple people in your team to read and send email from the same address. It centralises communication, ensures no inquiry falls through the cracks, and provides a professional front for your brand. Best of all, for most SME plans, shared mailboxes do not require an additional license, making them a cost-effective part of your IT infrastructure management.
At Anantek Solutions, we believe in "Invisible Infrastructure": technology that works so reliably in the background that you forget it’s even there. In this guide, we will walk you through setting up a shared mailbox so your team can collaborate with ease.
Why a Shared Mailbox Matters for Your Business
For SMEs, efficiency is everything. Using individual accounts to manage general inquiries often leads to duplicated efforts or, worse, missed opportunities. A shared mailbox solves this by:
- Centralising Communication: All team members see the same messages and folders.
- Improving Accountability: You can see who replied to which client and when.
- Cost Savings: Since they typically don’t require a separate license, they help keep your Microsoft 365 for SMEs budget lean.
- Business Continuity: If a staff member leaves, the history of those customer interactions stays within the shared mailbox, not an inaccessible personal account.
Whether we are installing structured cabling for luxury watch brands like Audemars Piguet (AP) and A. Lange & Söhne (ALS) or managing the Managed IT services for a local school, we always recommend shared mailboxes as a foundational tool for professional communication.
Step 1: How to Create a Shared Mailbox in the Microsoft 365 Admin Center
Creating the mailbox is the first step in building your "Tech That Lasts." You will need to have admin privileges to perform these actions.

- Log in: Sign in to the Microsoft 365 Admin Center.
- Navigate to Teams & Groups: In the left-hand menu, click on Teams & groups, then select Shared mailboxes.
- Add a Mailbox: Click the + Add a shared mailbox button.
- Enter Details:
- Name: This is the display name (e.g., "Customer Support").
- Email: This is the actual address (e.g.,
support@yourdomain.com).
- Save Changes: Click Save changes. It may take a few minutes for Microsoft to provision the new mailbox in the background.
Step 2: How to Assign Permissions
A mailbox is only useful if the right people can access it. Microsoft 365 offers three primary types of permissions:
- Full Access: Allows a user to open the mailbox and act as the owner (reading, deleting, and organising emails).
- Send As: Allows a user to send emails as the shared mailbox address. The recipient only sees the shared address (e.g.,
info@). - Send on Behalf: Allows a user to send mail for the shared mailbox, but the recipient will see "User Name on behalf of info@".

To assign these permissions:
- In the Shared mailboxes list, click on the mailbox you just created.
- Under Members, click Edit.
- Click + Add members and select the staff members who need access.
- Once members are added, go to the Mailbox delegation tab to refine "Send As" or "Full Access" settings if they weren't automatically applied.
Note: For SMEs focused on network security services, ensuring only necessary personnel have these permissions is a vital part of protecting your data integrity.
Step 3: How Users Can Access the Shared Mailbox
One of the best features of Microsoft 365 is that once you give a user "Full Access" permission, the shared mailbox usually appears automatically in their Outlook desktop app after a restart. This is part of the "Invisible Infrastructure" we strive for: tools that simply appear when needed.
In Outlook for Desktop (Windows & Mac)
- Restart Outlook: Usually, the mailbox will appear in the left-hand folder pane under your primary account.
- Manual Add (if needed): If it doesn't appear, go to File > Account Settings > Account Settings. Select your account, click Change > More Settings > Advanced, and click Add to enter the shared mailbox address.
In Outlook on the Web
- Log in to your email at outlook.office.com.
- Right-click on Folders (or your name) in the left sidebar.
- Select Add shared folder or mailbox.
- Type the email address of the shared mailbox and click Add. It will now stay pinned to your sidebar.

Step 4: Common Troubleshooting Tips
Even with the best IT support for small business, minor hiccups can occur. Here is how to handle the most common issues:
- Mailbox Not Showing: This is usually due to a delay in Microsoft's servers. It can take anywhere from 60 minutes to 24 hours for permissions to fully propagate. A quick restart of Outlook often helps.
- "You do not have permission to send": This happens if "Full Access" was granted but "Send As" was not. Double-check the Mailbox delegation settings in the Admin Center.
- Emails Sent from Shared Mailbox Go to "Sent Items" of the Individual: By default, when you send a message from a shared mailbox, it saves to your personal "Sent Items" folder. To fix this, an admin needs to enable the "Copy items sent as this mailbox" setting in the Shared Mailbox settings.
Step 5: Best Practices for Ongoing Management
To ensure your setup remains a part of your "Tech That Lasts," follow these management tips:
- Use Folders for Categorisation: Create subfolders within the shared inbox (e.g., "In Progress," "Completed," "Urgent") to keep the team organised.
- Limit Membership: Only add people who absolutely need access. Too many cooks in the kitchen can lead to deleted emails or missed replies.
- Monitor Security: Regularly review who has access. As part of our IT support services, we recommend a quarterly audit of all shared permissions to maintain high network security services standards.
- Avoid Using Shared Mailboxes for Personal Work: Keep the shared space strictly for its intended business purpose to avoid clutter.

Conclusion: Let Anantek Manage the Complexity
Setting up a shared mailbox is a fantastic first step in modernising your SME's communication. However, as your business grows, your IT needs will grow with it. From managing complex Cloud Solutions to installing high-end network infrastructure for luxury retail brands, Anantek Solutions is here to ensure your technology is an asset, not a hurdle.
Our expertise isn't just in software; we provide comprehensive support including CCTV, access control, and structured cabling for schools and fit-out companies. We focus on longevity and reliability, ensuring your systems are built to last.
Ready to upgrade your IT infrastructure?
Whether you need a full audit of your Microsoft 365 environment or a partner to manage your Managed IT services, we respond in an average of just 1 minute.